Portal MFA setup
To enhance the security around Salesforce usage, Multi-Factor Authentication (MFA) is now required. You can learn more about what MFA is and why it’s valuable to use here.
One of the most common methods of authenticating a user’s identity after the initial account login is by entering a code from a downloadable authenticator app. We recommend these free options: Microsoft Authenticator, Google Authenticator, or Authy. The apps generate new codes frequently and you use a unique code for each login. Please install one of these apps on your phone before reading further.
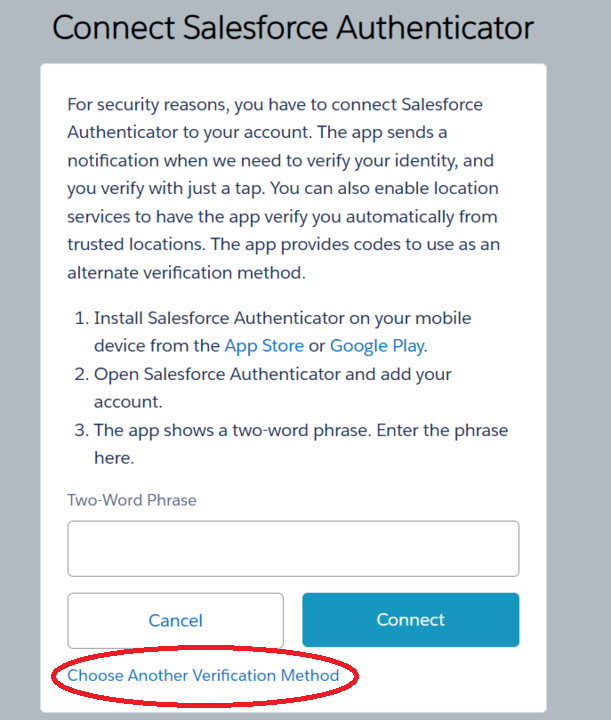
When you next log into Salesforce, you will see a prompt to connect to an authenticator. You will be able to select Salesforce’s specific authenticator in the screen that appears (see image below) but we recommend using one of the three 3rd party apps linked to in the previous paragraph. To connect Salesforce to the authenticator app you choose, select “Choose Another Verification Method” at the bottom of the screen.

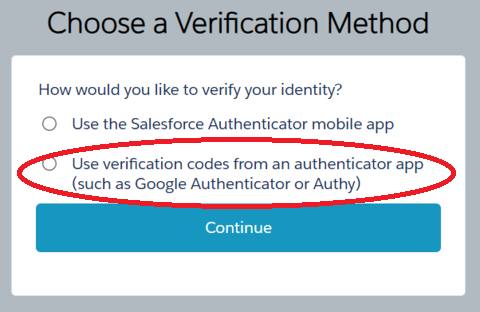
On the next screen, select the option circled in red:

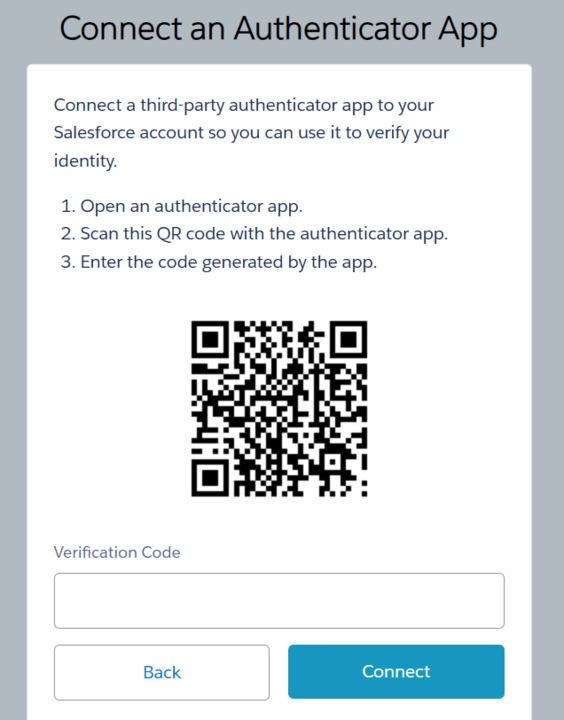
Next, Salesforce will generate a screen showing a QR code with a field below to enter a verification code.

Open your newly installed authenticator app. Each authenticator is slightly different in appearance, but all will have a way to add a new account or website. Generally, there will be an “Add” or a “+” option (click here for an example of what Microsoft Authenticator looks like). You will see an option to select an account type, in this case choose Other, and then you will scan the Salesforce QR code. This will add the Salesforce account/website to your app and provide a verification code. You will then enter the verification code on the screen with the QR code, completing the link.
